Publish notes from your Obsidian vault.
The JotBird plugin for Obsidian lets you publish any note to a shareable web page with images, callouts, and Mermaid diagrams. No account required. Just install and click from the app.
How it works
From install to published link in under a minute.
Install
Publish
Share
Built for Obsidian
Everything you need to go from note to web page without leaving your vault.
One-click publishing
Publish from the ribbon icon, command palette, or file menu. Republish to update — same URL, fresh content.
Automatic image uploads
Local images in your vault are uploaded and embedded automatically. No manual hosting needed.
Callouts & Mermaid
Obsidian callout syntax and Mermaid diagrams render beautifully on the published page.
Frontmatter tracking
Published URLs and expiration dates are stored in your note's frontmatter properties automatically.
A walkthrough by Paul O'Malley.
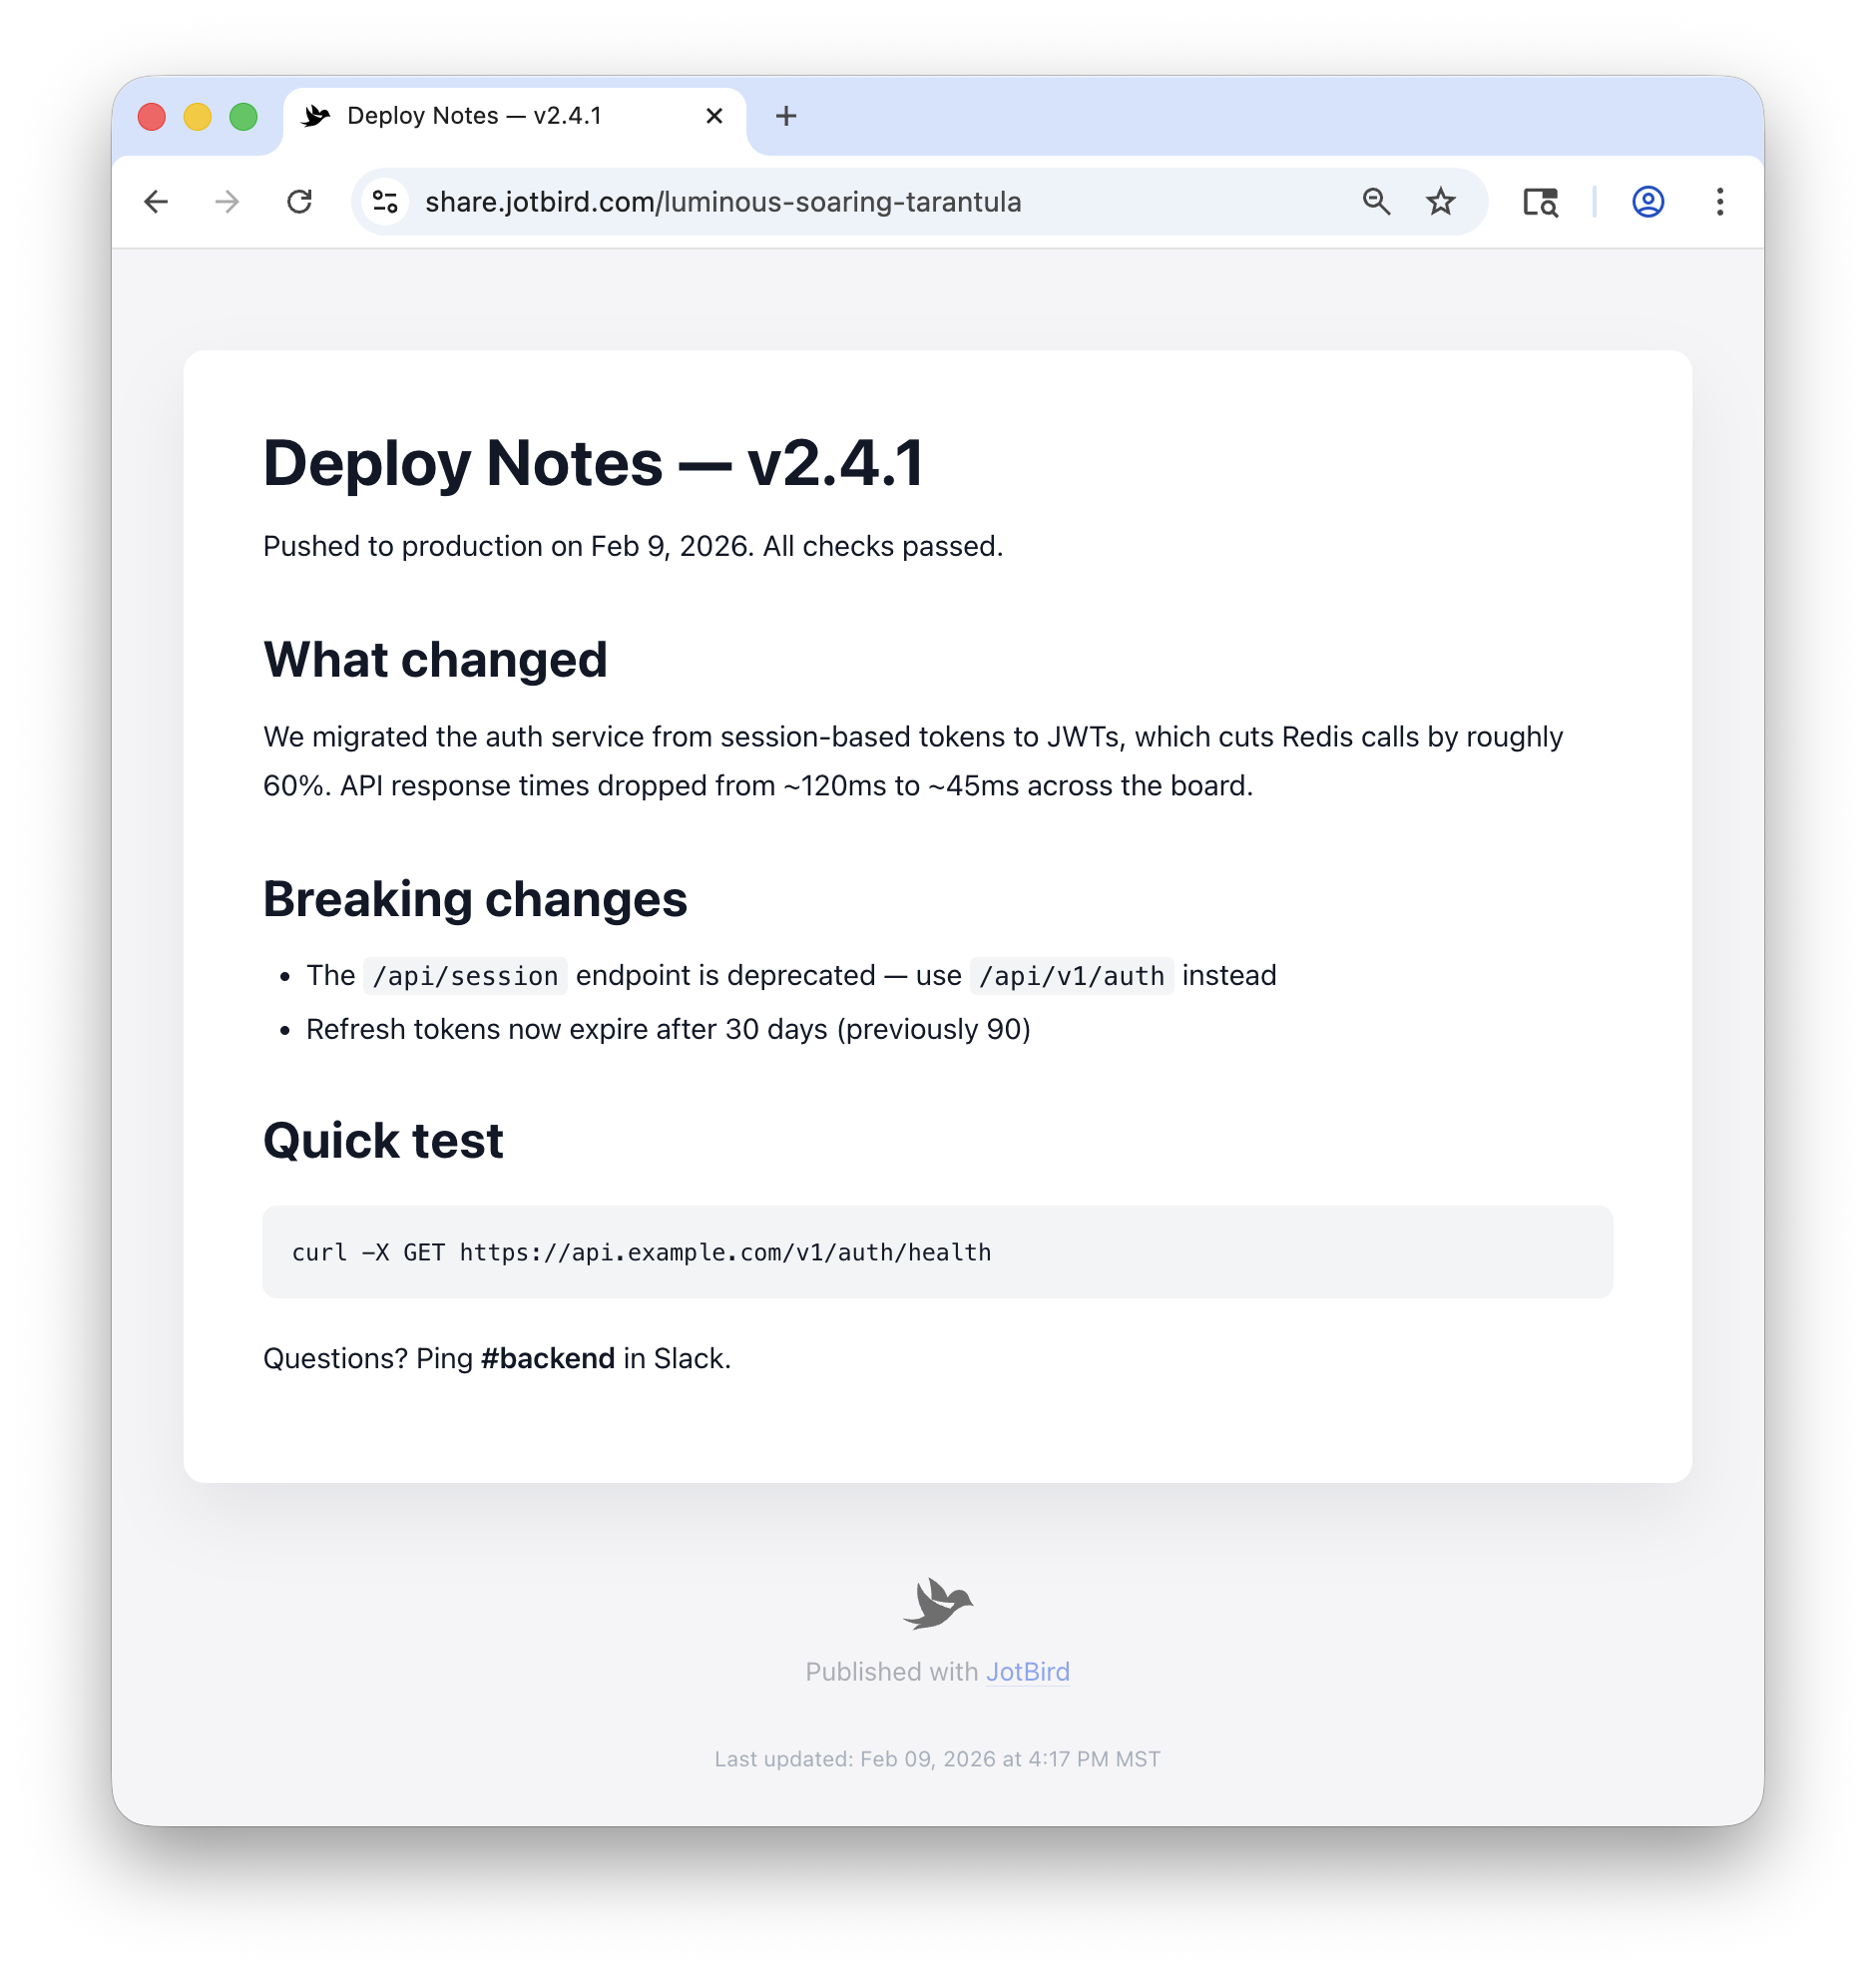
How it looks
Every published page gets a responsive URL — no ads, no tracking, no clutter, just your content. Markdown is rendered with proper typography, code blocks, headings, and lists. Here's an example.
Ready to publish from Obsidian?
Install the free JotBird plugin to start publishing notes from your vault.
Getting Started
Everything you need to know about the JotBird Obsidian plugin.
Setup
Installation
- Open Settings → Community plugins
- Click Browse and search for “JotBird”
- Click Install, then Enable
Usage
Publishing
There are three ways to publish a note:
- Ribbon icon — Click the JotBird icon in the left sidebar
- Command palette — Open the command palette and search “JotBird: Publish”
- File menu — Right-click a file in the sidebar → “Publish to JotBird”
Local images are uploaded and embedded automatically. Wiki links are converted to plain text, and Obsidian comments (%%...%%) are stripped. Republishing the same note updates the existing page — same URL, fresh content.
The published URL and expiration date are stored in your note's frontmatter as jotbird_link and jotbird_expires.
Usage
Managing Documents
Use the command palette to list or delete published notes:
- “JotBird: List published documents” — See all your published notes with links
- “JotBird: Unpublish current note” — Permanently remove a note from the web
Published notes also appear in the web app as read-only documents with an “Obsidian” badge.
Setup
Authentication
Connect your JotBird account to get 90-day links.
- Open Settings → JotBird
- Click Connect Account — this opens jotbird.com in your browser
- Sign in (or create an account) and your API key is sent back to Obsidian automatically
You can also paste an API key manually from Account Settings in the web app.
Upgrade
Pro Features
Upgrade to JotBird Pro for permanent links that never expire.
You can upgrade from the plugin settings or from jotbird.com/pro.
The JotBird Obsidian plugin is open source. View on GitHub